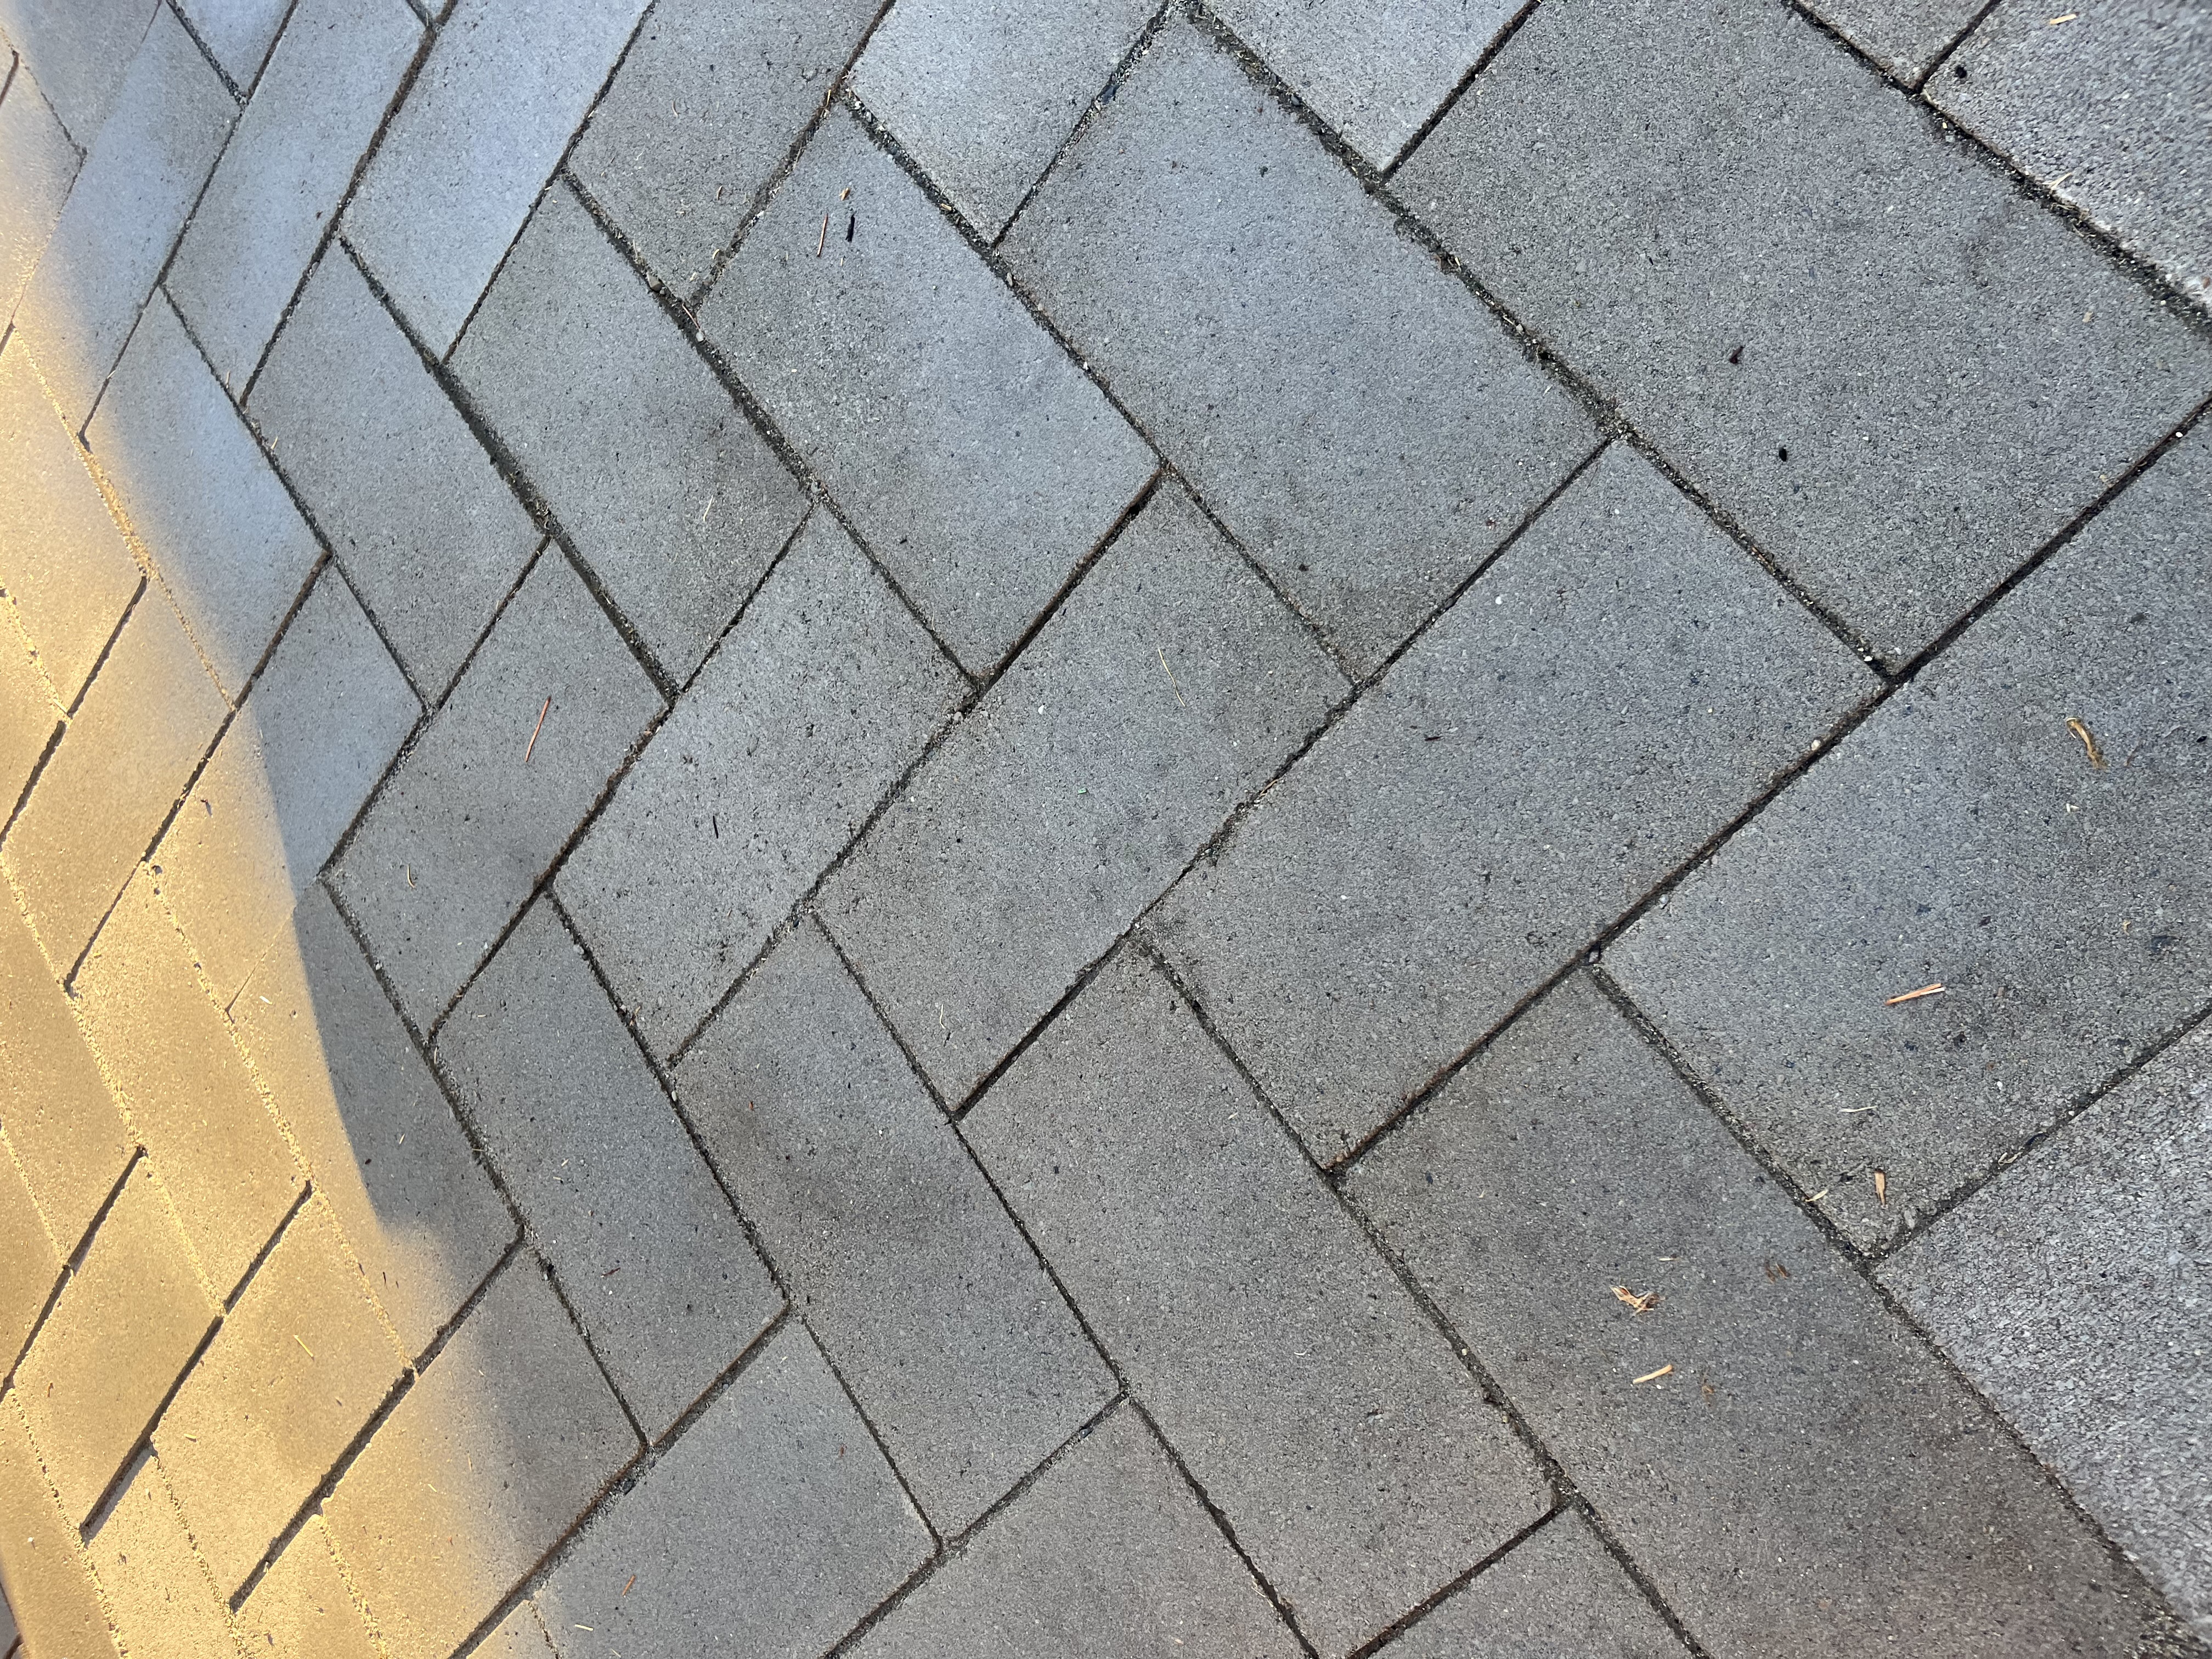
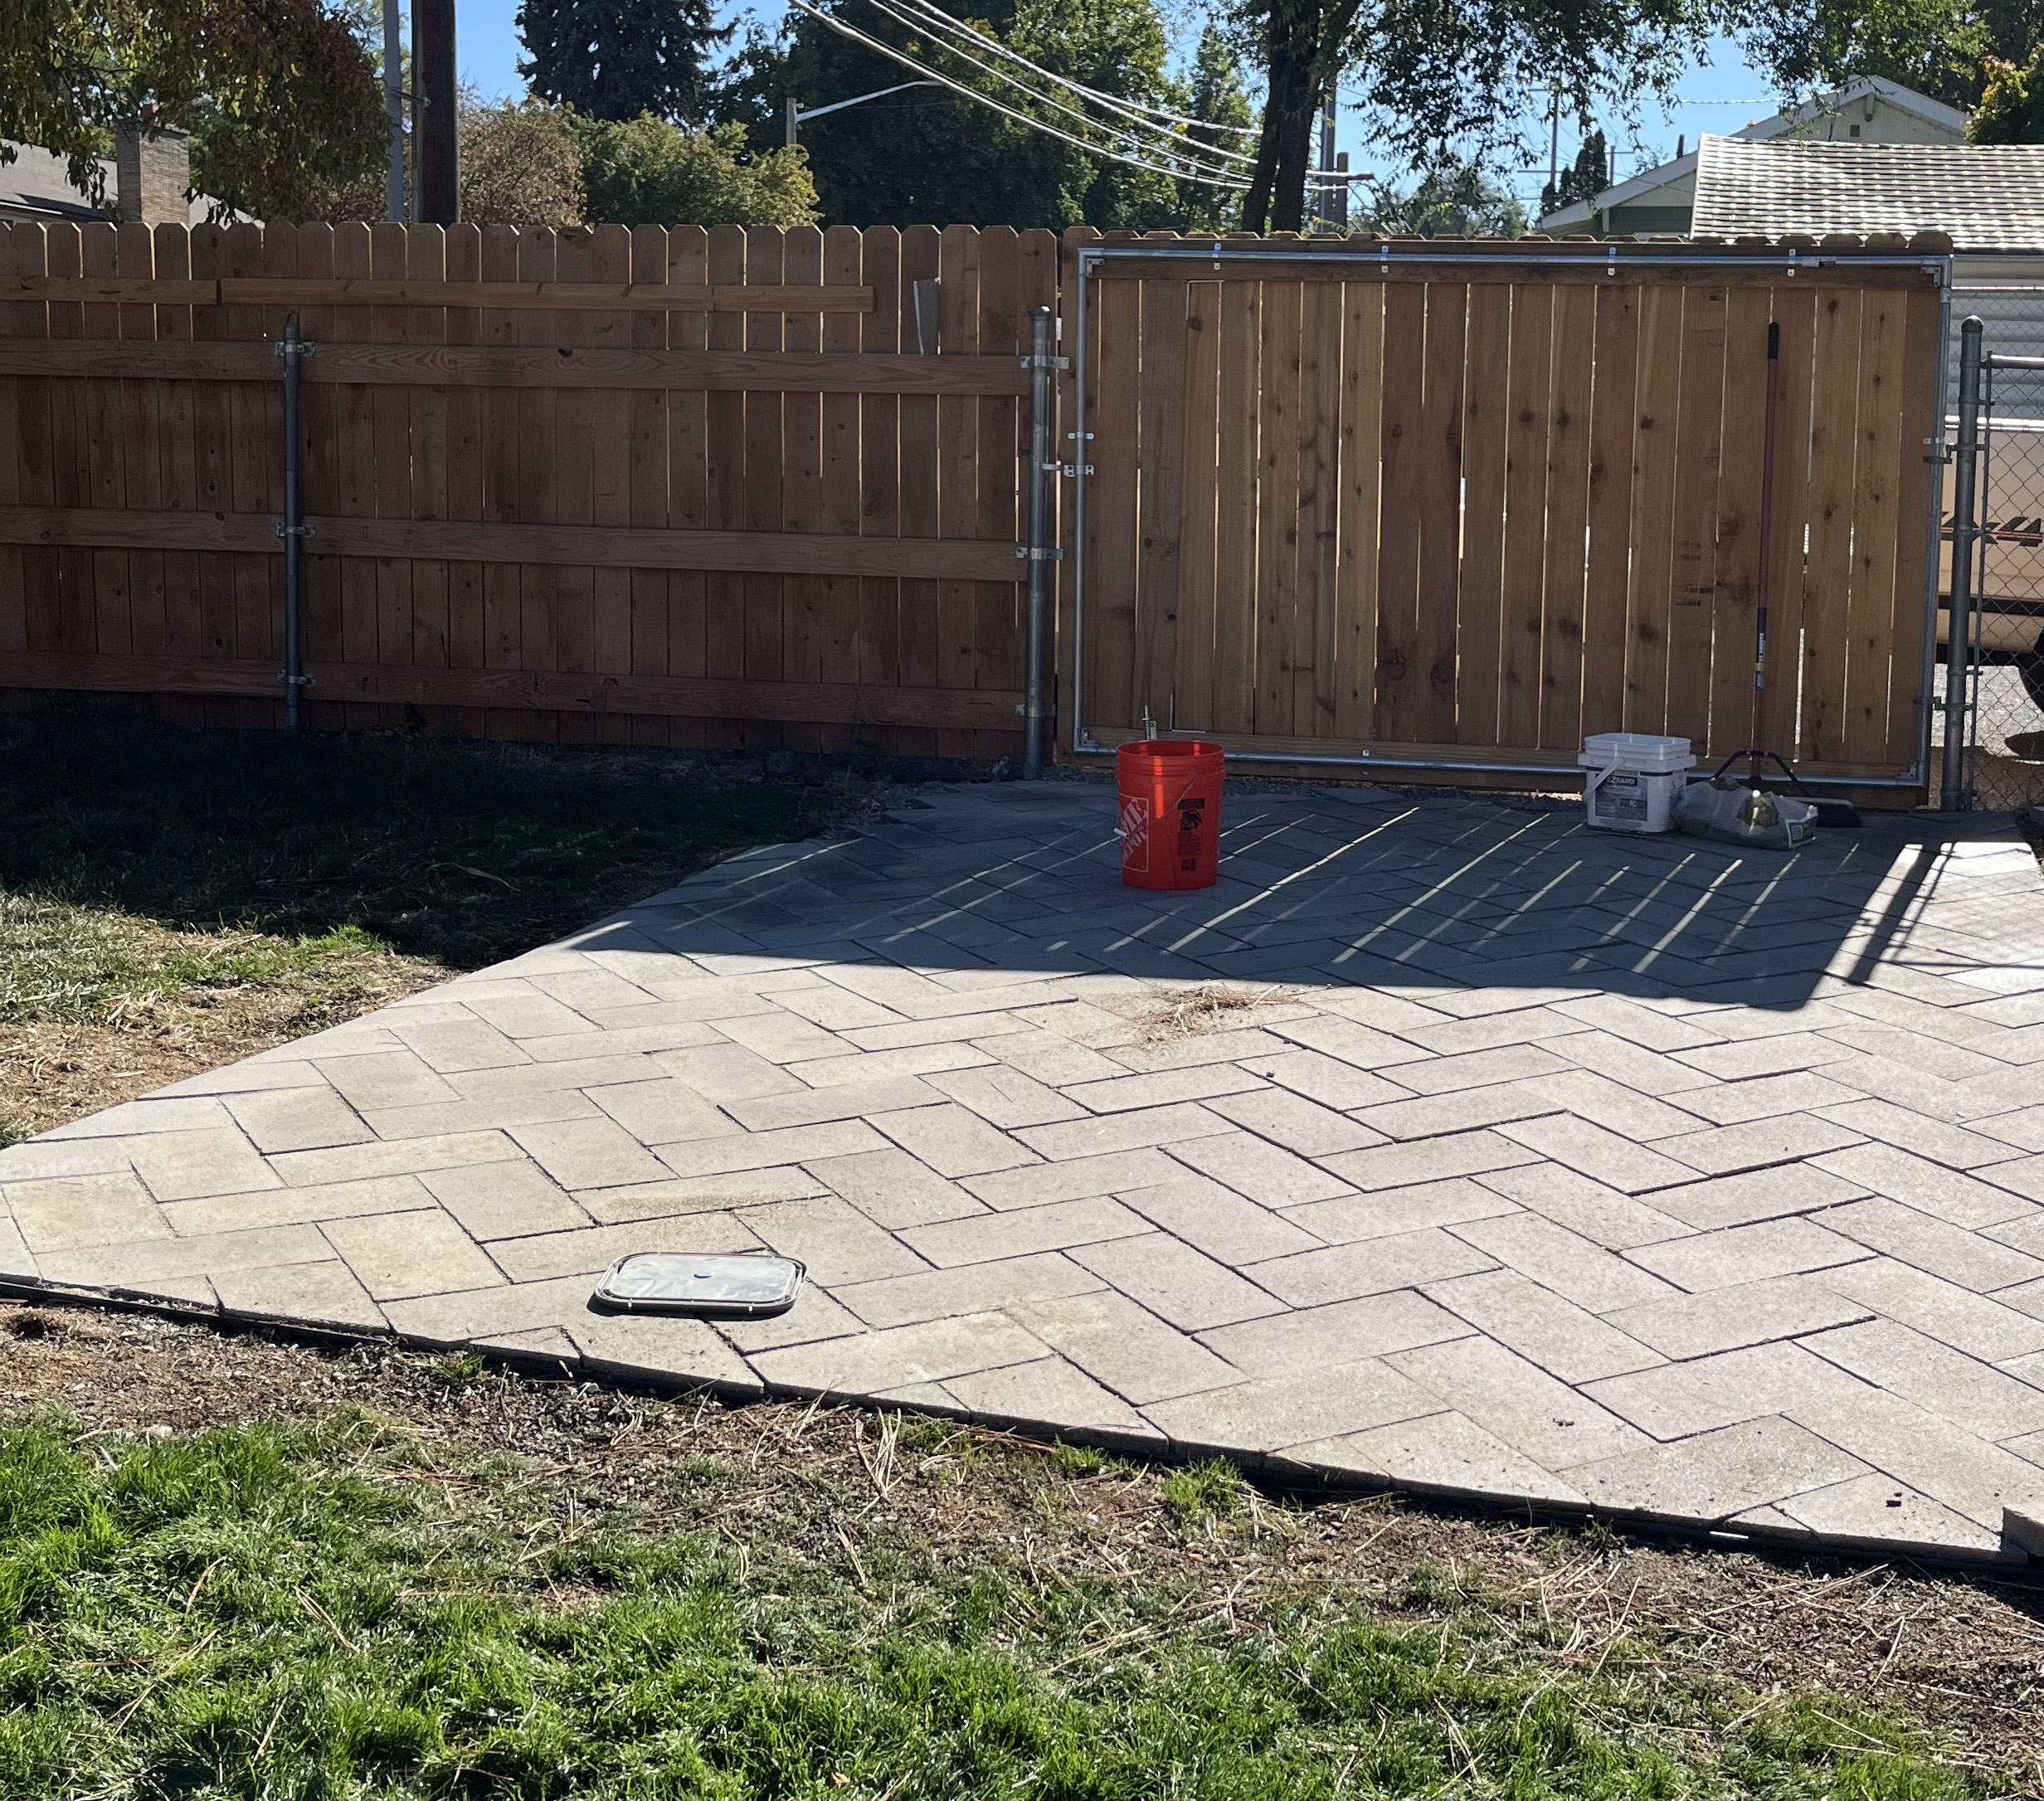
Herringbone Patio
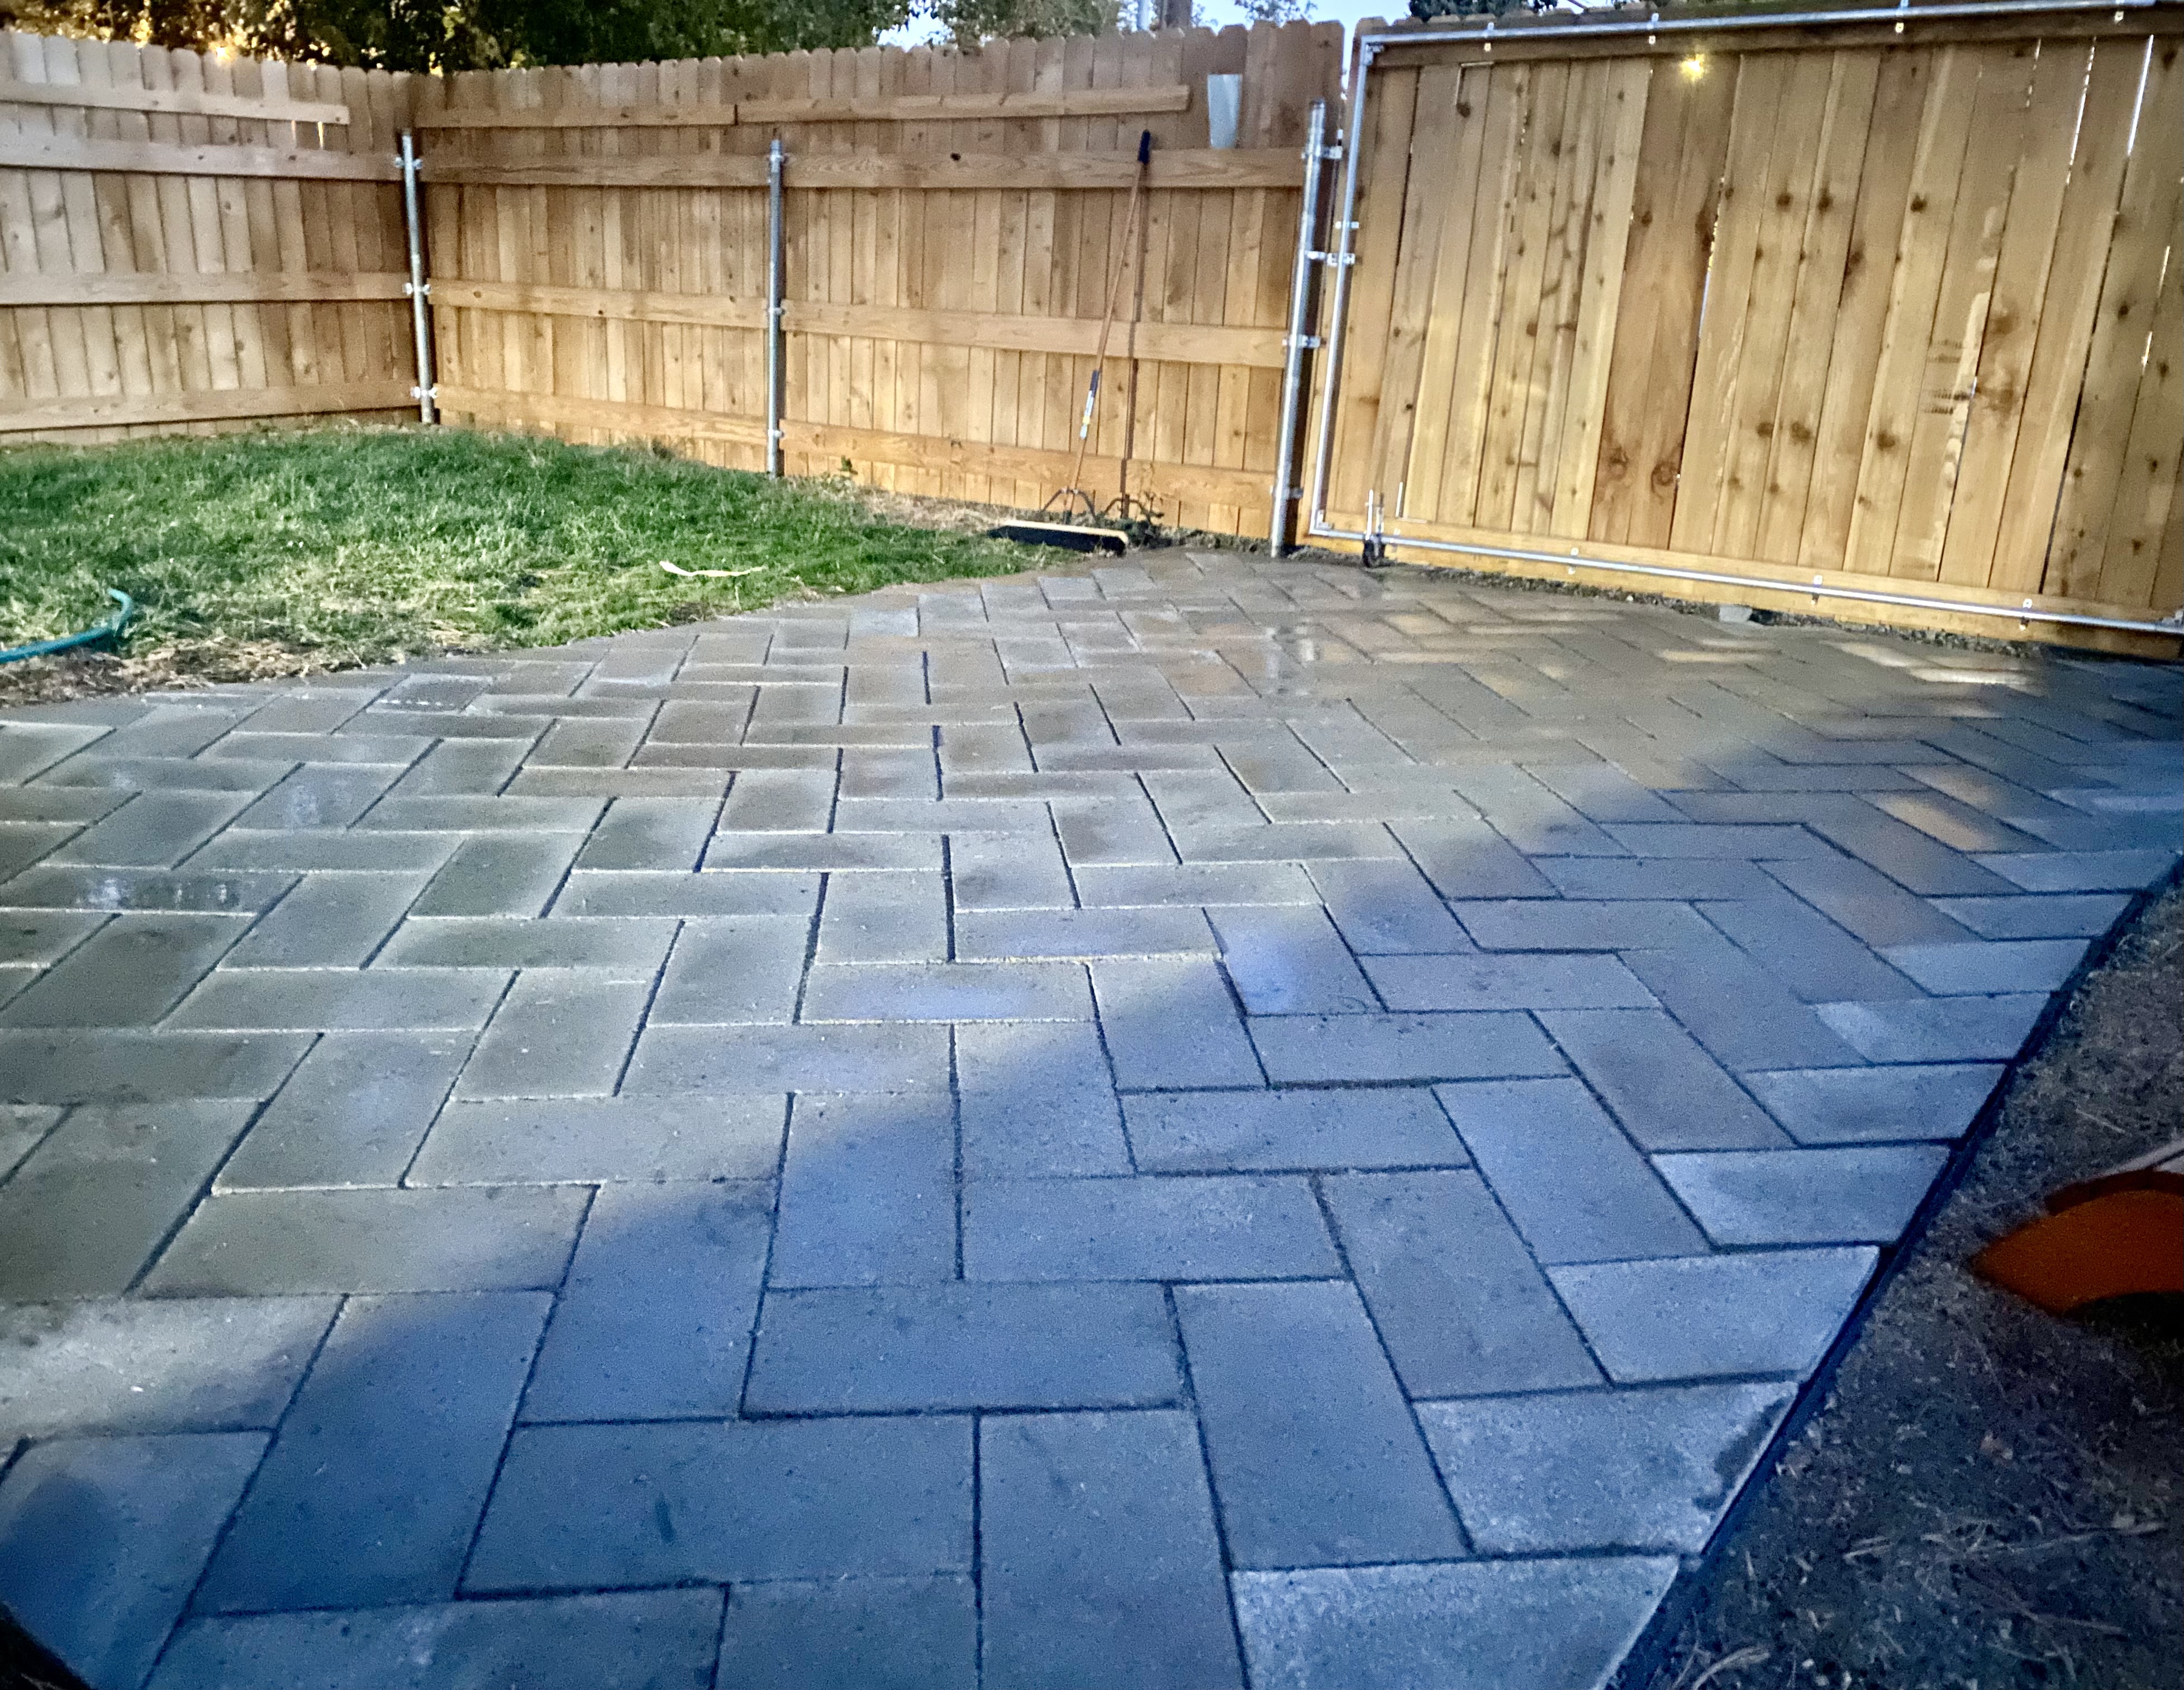
Transforming your outdoor space doesn't have to come with a hefty price tag. In this article, we'll show you how to build a stunning herringbone patio using cost-effective pavers. This patio pavers design is a rewarding project, our step-by-step guide will help you achieve a high-end look on a budget. Join us as we share our journey, tips, and lessons learned in creating a beautiful, durable patio that enhances your home's curb appeal without breaking the bank.
Material and Tools Required
This patio paver DIY project doesn't demand a lot of tools, but the materials can be quite heavy. Transporting rock, sand, and pavers can be a challenging task. If you're planning a larger patio, you might want to consider having the materials delivered to save time and effort.
Tools:
- Tamper
- Gloves
- Mallot
- Push Broom
- Marker
- Masonry Chisel
- Tape Measure
- Stakes/String or Spray Paint
Material:
- Gravel
- Paver Sand
- Paver Edging
- Paver Edging Stakes
- Pavers
Patio Planning and Preparation
Site Selection and Measurement
Choosing the right location for your herringbone patio is crucial for both functionality and aesthetics. Start by selecting a flat, well-drained area that complements your outdoor space. Consider factors such as proximity to the house, sun exposure, and intended use. We designed our patio to serve multiple purposes. First, we wanted a space where we could relax, entertain guests, and enjoy a fire pit. Second, we needed an area inside the fence where we could park our car securely, protecting it from prowlers.
Once you've chosen the perfect spot, measure the area accurately. Mark the boundaries with stakes and string or spray paint, ensuring your measurements are precise. This step is essential for calculating the amount of materials needed and for planning the layout of your herringbone pattern. Proper site selection and measurement will set the foundation for a successful and visually appealing patio.
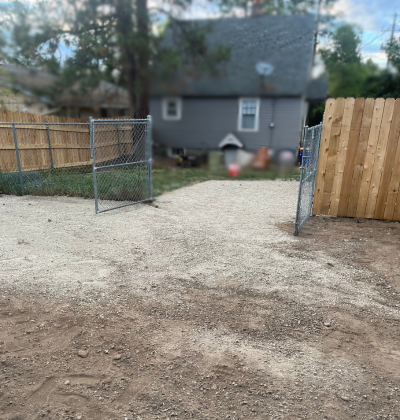
We’ve completed the essential site preparation for our patio project. First, we accurately measured and marked the patio area to ensure precise planning and material calculations.
Design considerations and layout planning
When designing your herringbone patio, consider both aesthetics and functionality. Think about how the patio will complement your home's exterior and landscaping. Choose a pattern that enhances your outdoor space, with herringbone offering a classic and visually appealing option.
Plan the layout to accommodate your intended uses, whether it's for relaxing, entertaining, or additional parking. Ensure there's enough space for furniture and other features like a fire pit. Sketch the design on paper, marking dimensions and key elements. Proper planning will help you visualize the final result and guide you through the construction process, ensuring a seamless and attractive patio.
There are many other patio paver design ideas to consider. Some popular options include a classic brick patio, flagstone patio, concrete paver patio, stamped concrete patio, gravel patio, and wood deck patio. Each offers a unique look and feel to enhance your outdoor space.
Budgeting Tips
Accurate measurement is the most important part of planning your budget. When calculating supplies, remember that having extra sand is crucial. Sand plays a vital role in leveling the base and keeping the pavers securely in place, ensuring a durable and stable patio.
Pavers can be an economical material for building a patio. They come in various materials, including concrete, brick, and stone. For our project, we chose the most inexpensive pavers from Home Depot, which gave our patio a rustic, weathered look. With many types of pavers available, some much more expensive than others, it's crucial to explore your options. Look, touch, and envision the pavers you want to use while calculating your budget, as this choice can significantly affect the overall cost.
We used Home Depot Pewter Concrete Step Stones. These Pavers in 2024 cost $1.74 per brick. They were the cheapest option available for the size of brick we wanted. Pavers can range from $1 a brick to $30 a brick.
Step-By-Step How to Build a Patio With Pavers:
Step 1: Preperation
- Measure and mark the patio area accurately to ensure a well-planned project.
- Remove any existing sod and vegetation to create a clear workspace.
- Excavate the soil to the desired depth, disposing of any excess material. If you want the patio to be level with the surrounding area, you may need to dig deeper than expected. For a solid and secure base, you will need 4 to 6 inches of gravel under your pavers. If the pavers are 4 inches thick, this means you will need to dig 9 inches deep. This depth ensures the pavers will sit flush with the surrounding landscape while providing a stable foundation.
- Install paver edging around the edge of the prepared site. Paver edging helps keep pavers,
gravel, and sand in place, ensuring a neat and durable finish. To install, position the
edging along the perimeter of your patio area and secure it by hammering in 8-inch stakes
through the provided holes. This method ensures the edging is incredibly sturdy, maintaining
the integrity of your patio structure.
We initially did not think we needed paver edging. And there are probably times when it is not always necessary. As we were laying our pavers, we realized how unstable the sides of our patio would be without it. Having seen the stabilization it provided for the first patio, I will plan to install paver edging on any future projects from the start.
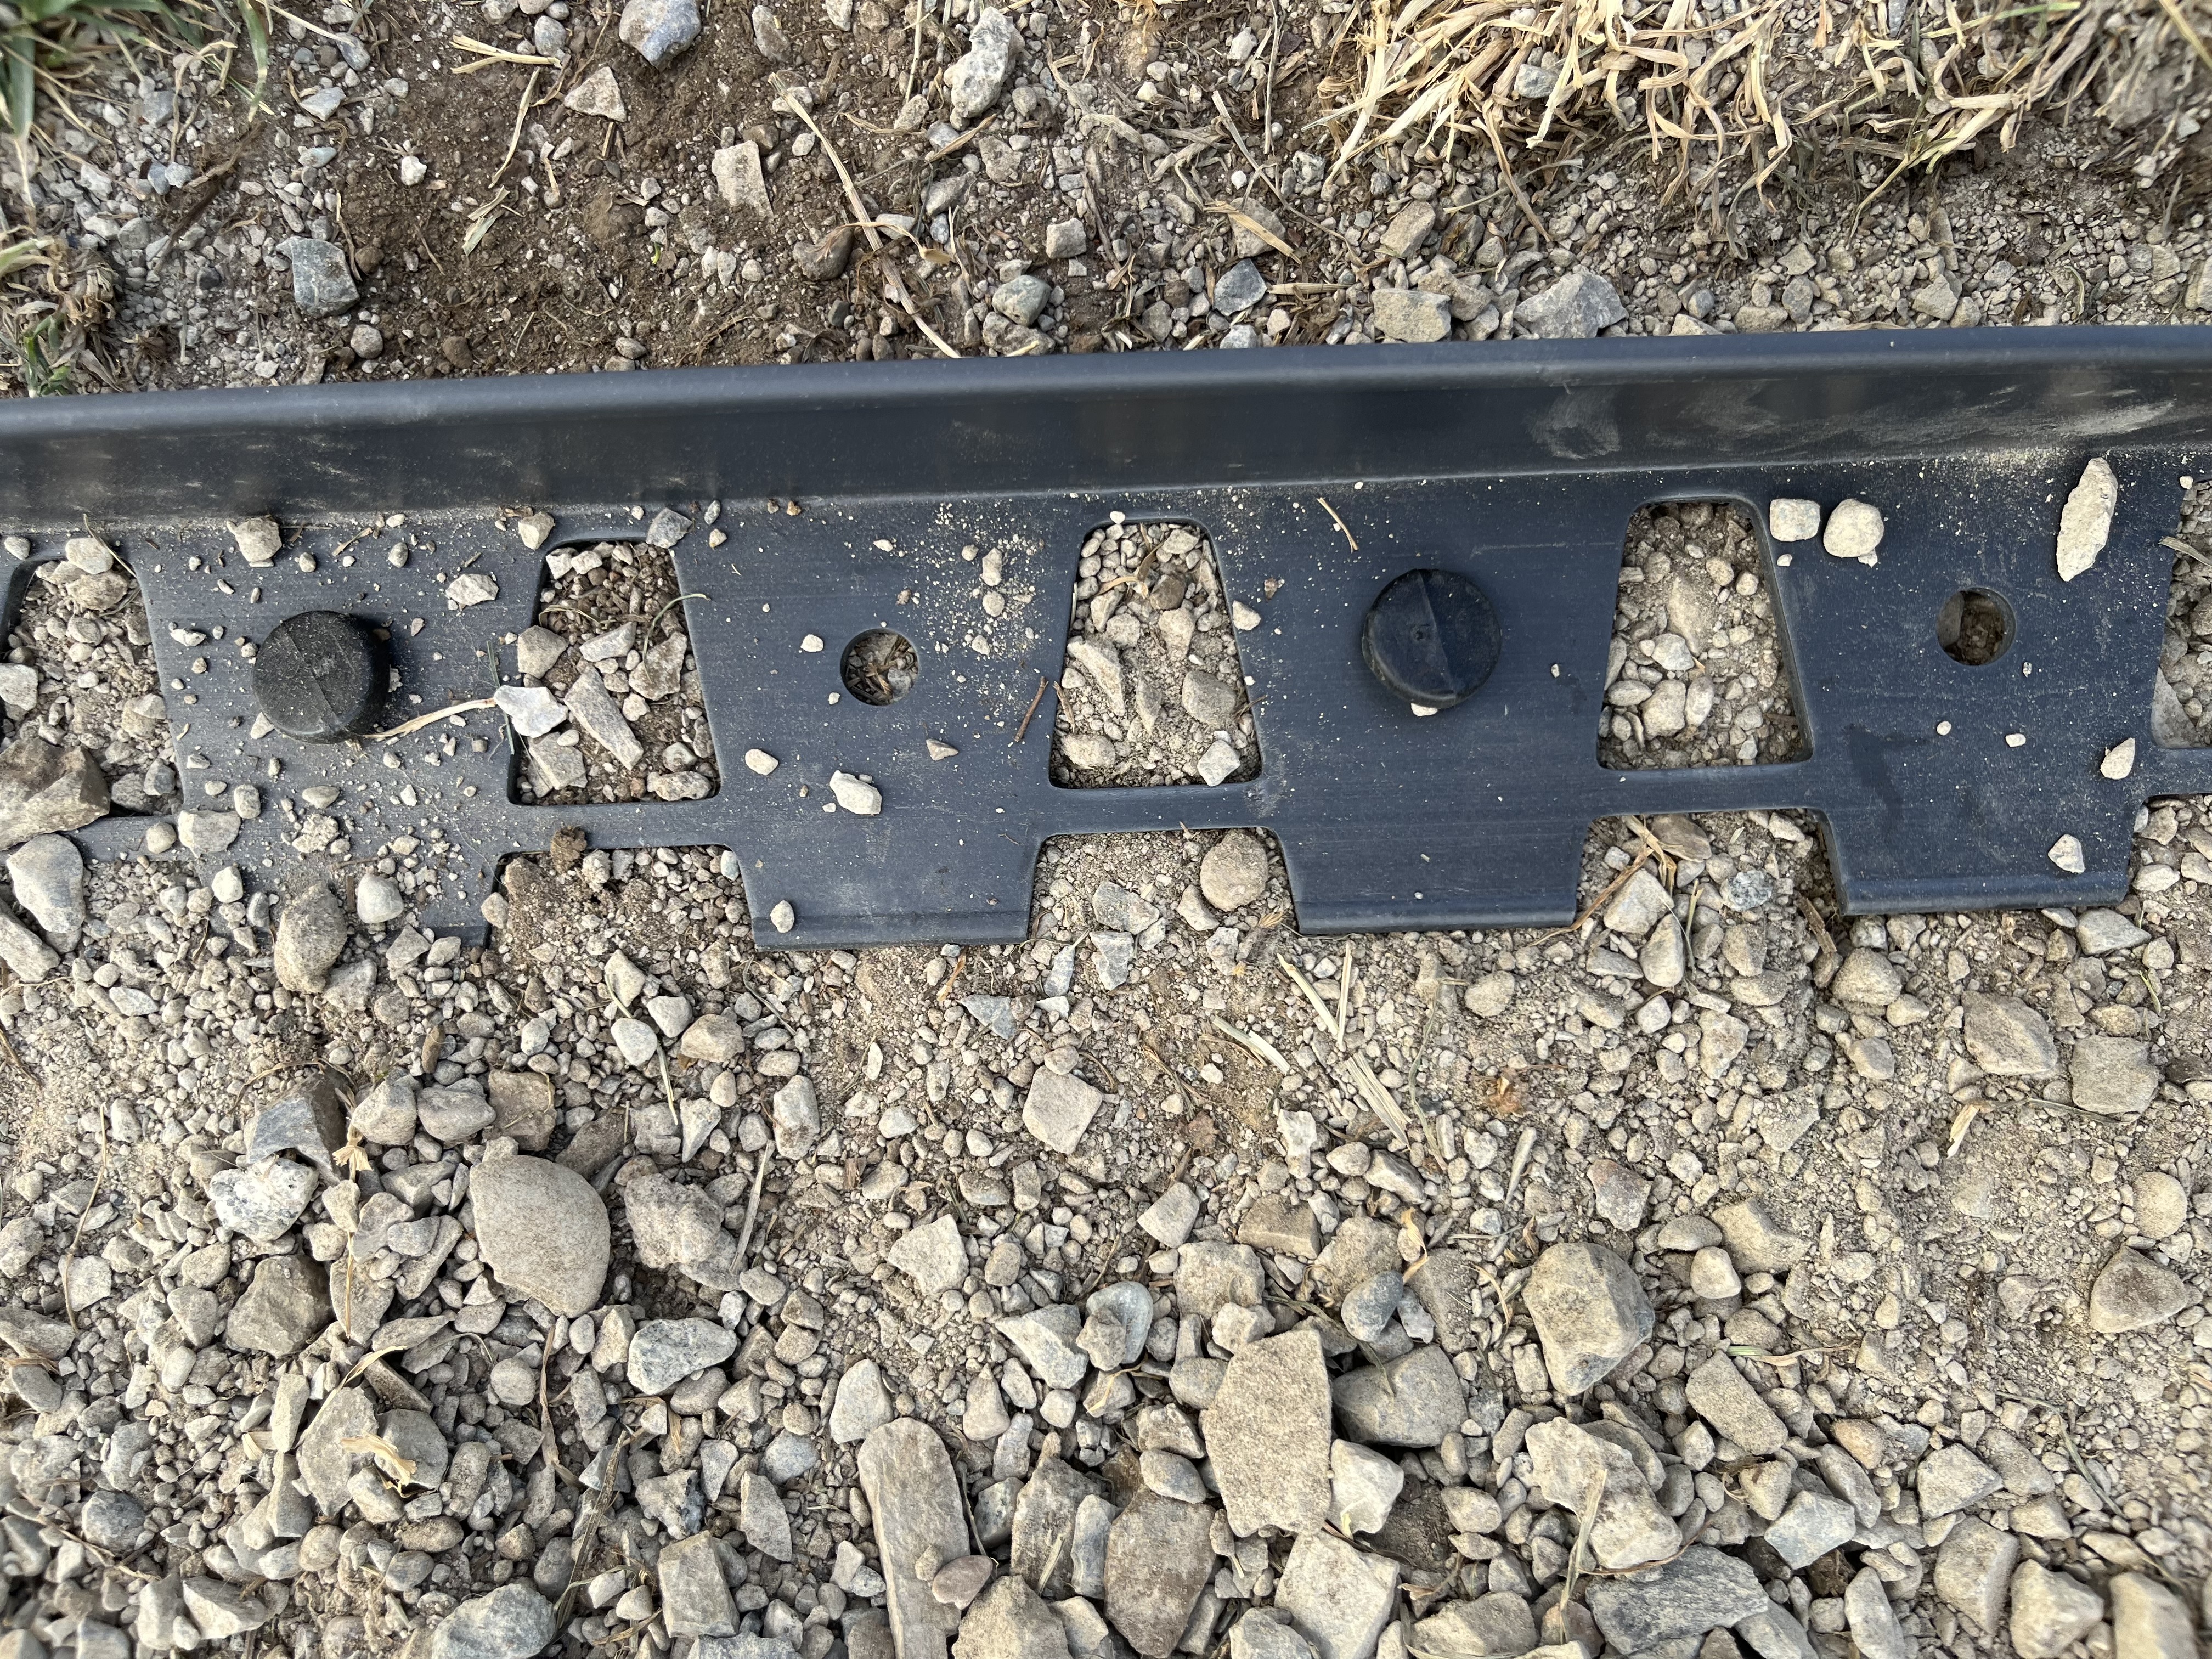
Paver Edging
Step 2: Laying the Foundation
- Add a layer of gravel base. This base should be 4 to 6 inces in depth for adequate structural support.
- Use a rake to ensure the gravel is distributed uniformly. Next, check for levelness using a long, straight board and a spirit level, adjusting the gravel as needed to achieve a flat surface.
- Once the gravel is level, compact it using a hand tamper or a plate compactor. Make several passes over the entire area to ensure thorough compaction. This process creates a solid, stable base, essential for the long-term durability of your patio.
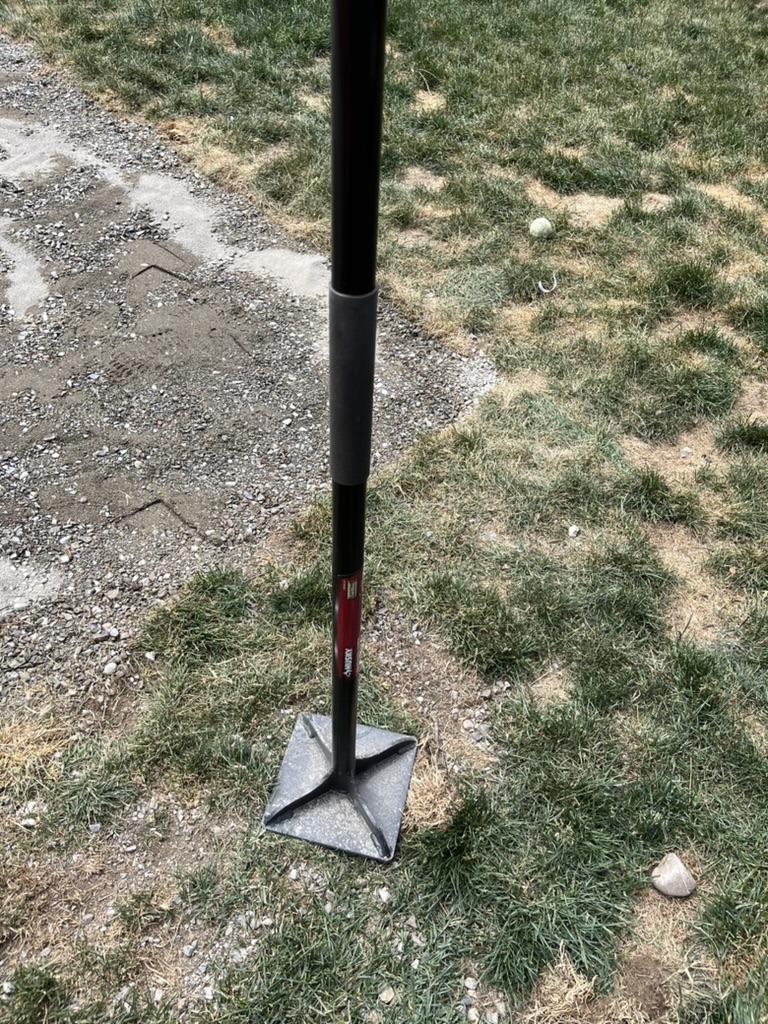
Tampers, shown above, can be found at your local hardware store.
Step 3: Creating the Pattern
- Find the center of your patio area and mark the central axis. This will help guide the pattern.
- Start at the center of the patio and place the first two pavers in an L-shape, with one paver's end meeting the middle of the other paver’s side.
- Lay the next pavers so that each new paver intersects with the side of the previous paver at a 90-degree angle, creating a zigzag or “V” pattern. Make sure each paver is snug against the previous ones to maintain the integrity of the pattern.
- As you lay more pavers, periodically check that they are aligned correctly with the chalk line and each other. Adjust as necessary to keep the pattern straight.
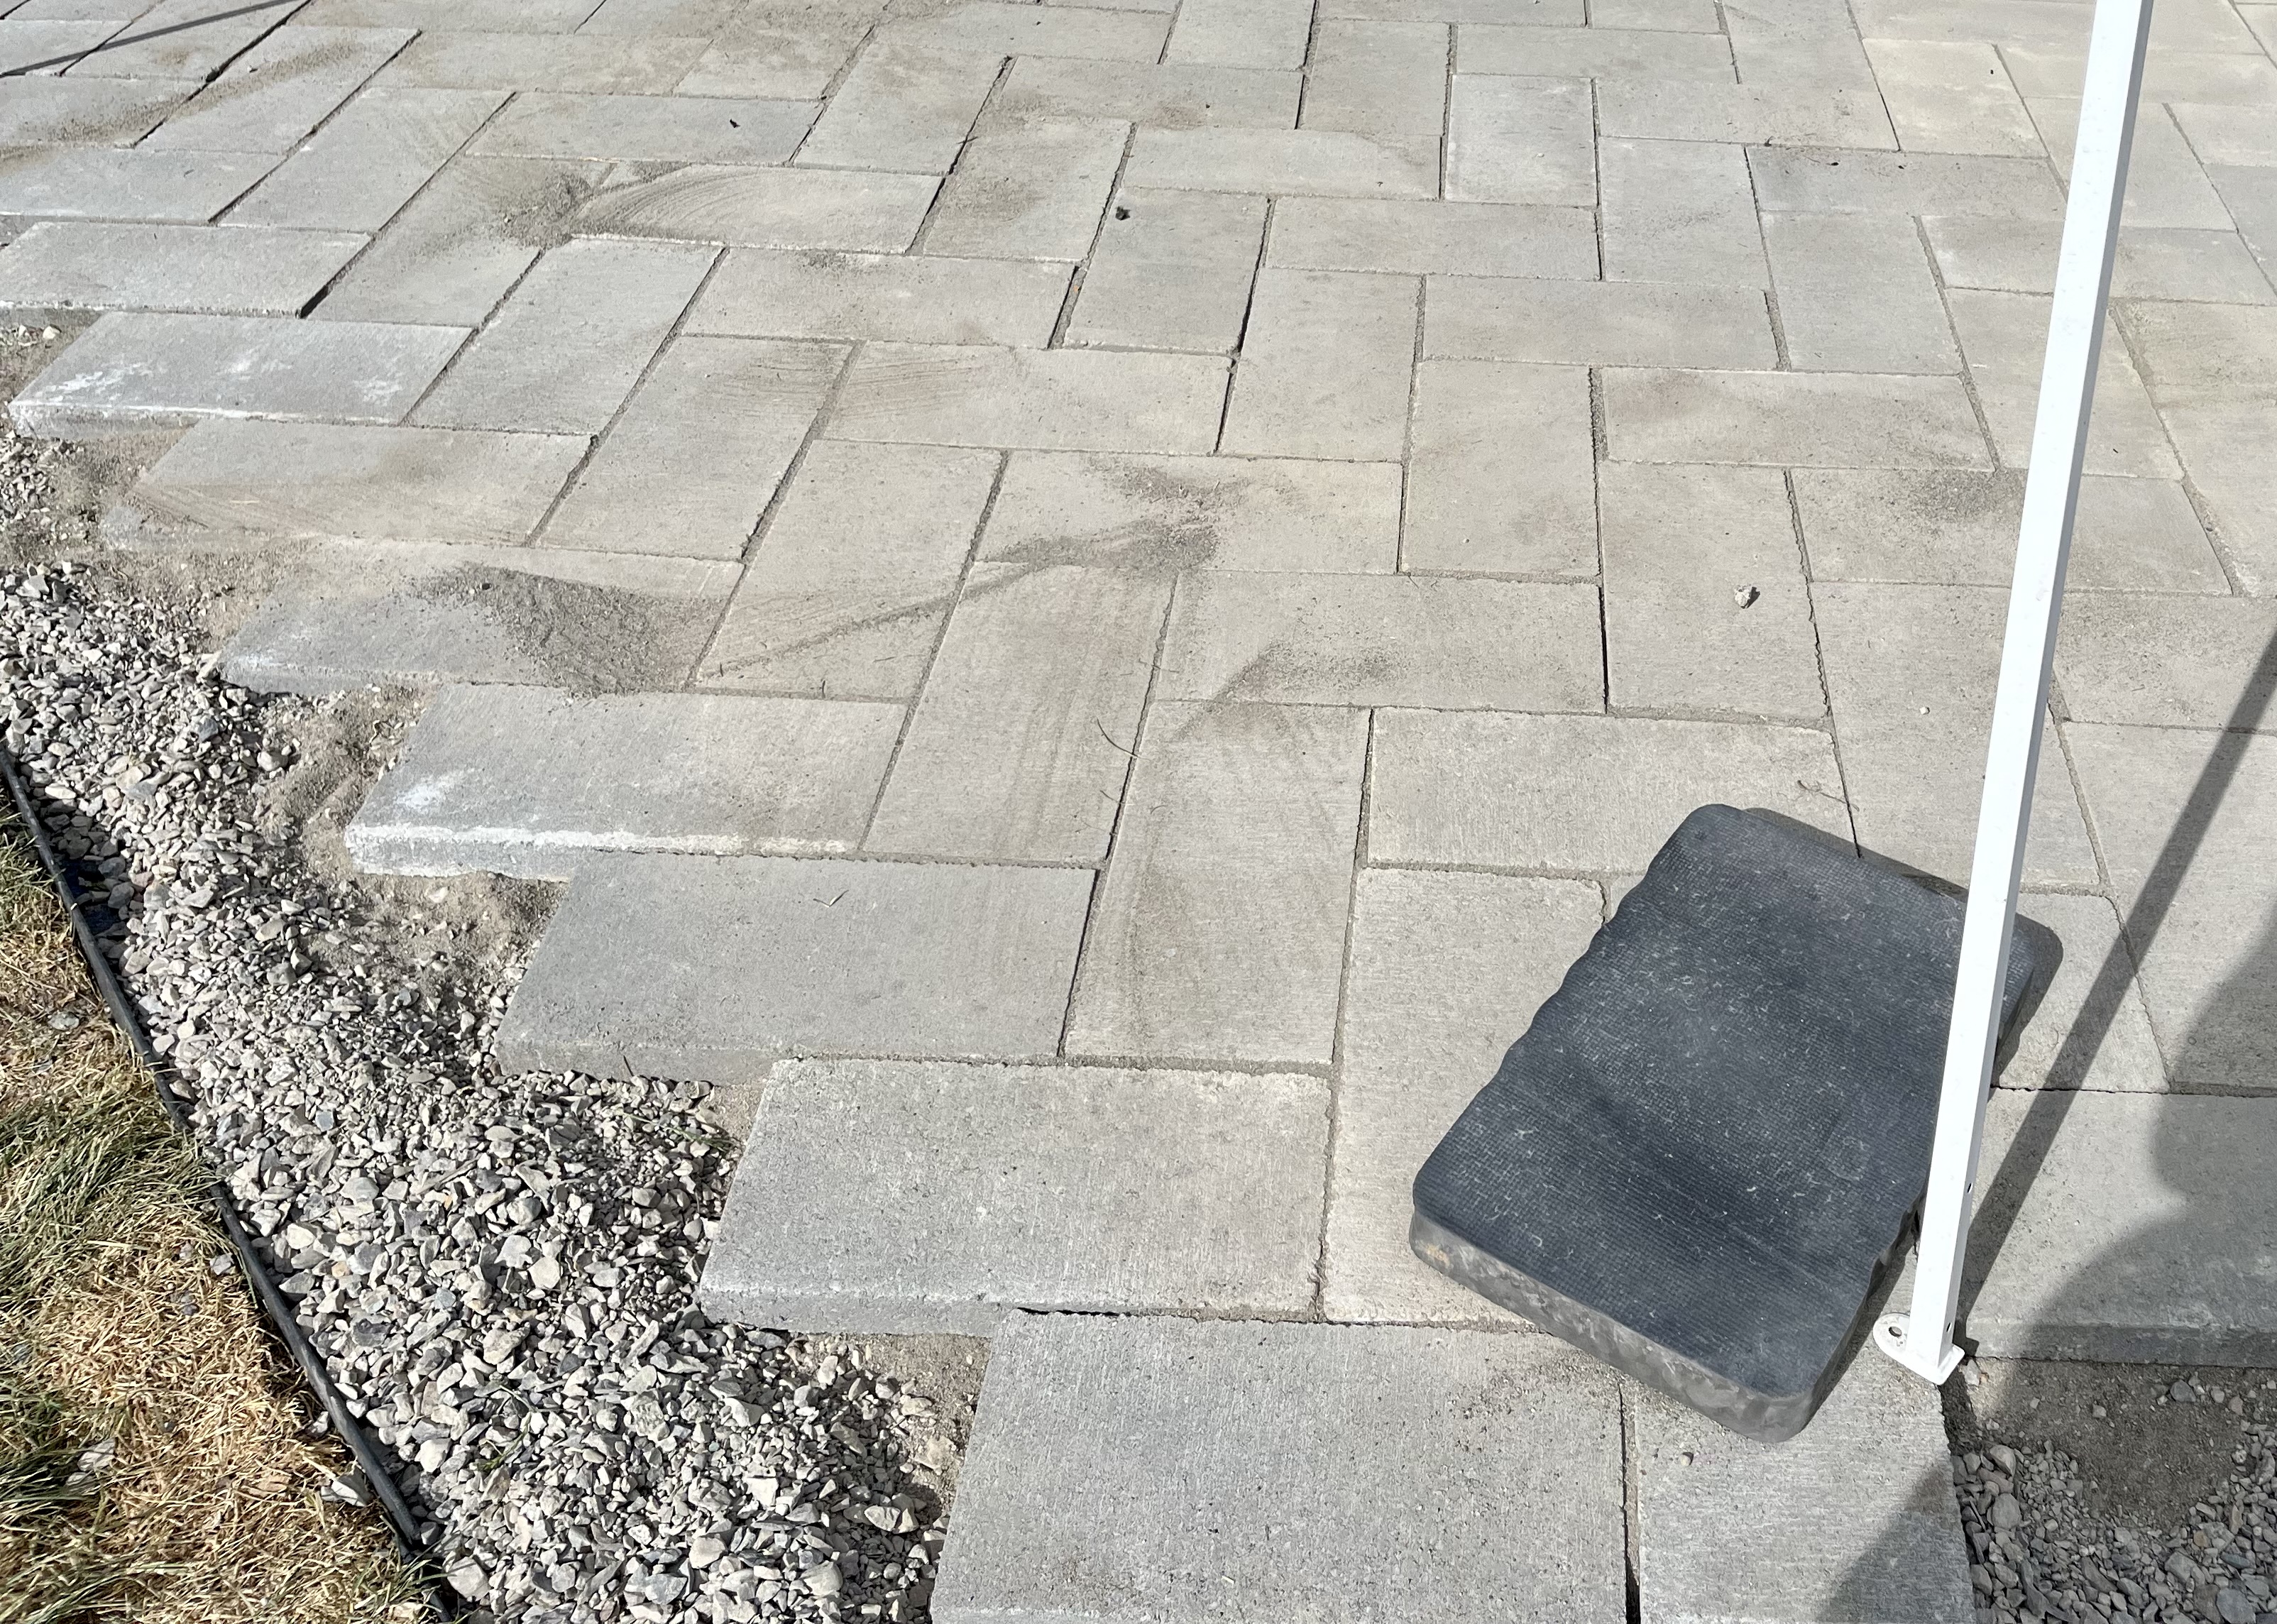
- Periodically fill the small gaps between pavers with sand. This will help lock the pavers in place. If we did not do this after 5-6 pavers it was easy to knock one out of place and have to adjust many of the pavers within that line.
- Once the main pattern is laid, you will need to cut pavers to fit the edges and corners. Use a wet saw or a paver cutter for clean cuts. Discover the best methods for cutting patio pavers right here!
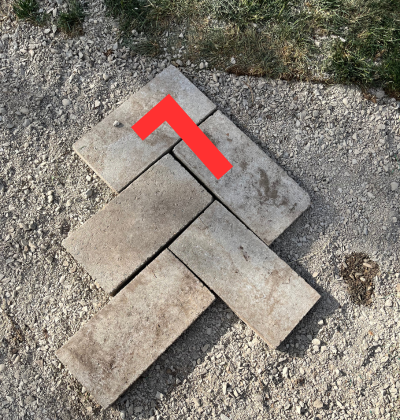
Place the first two pavers in an L shape
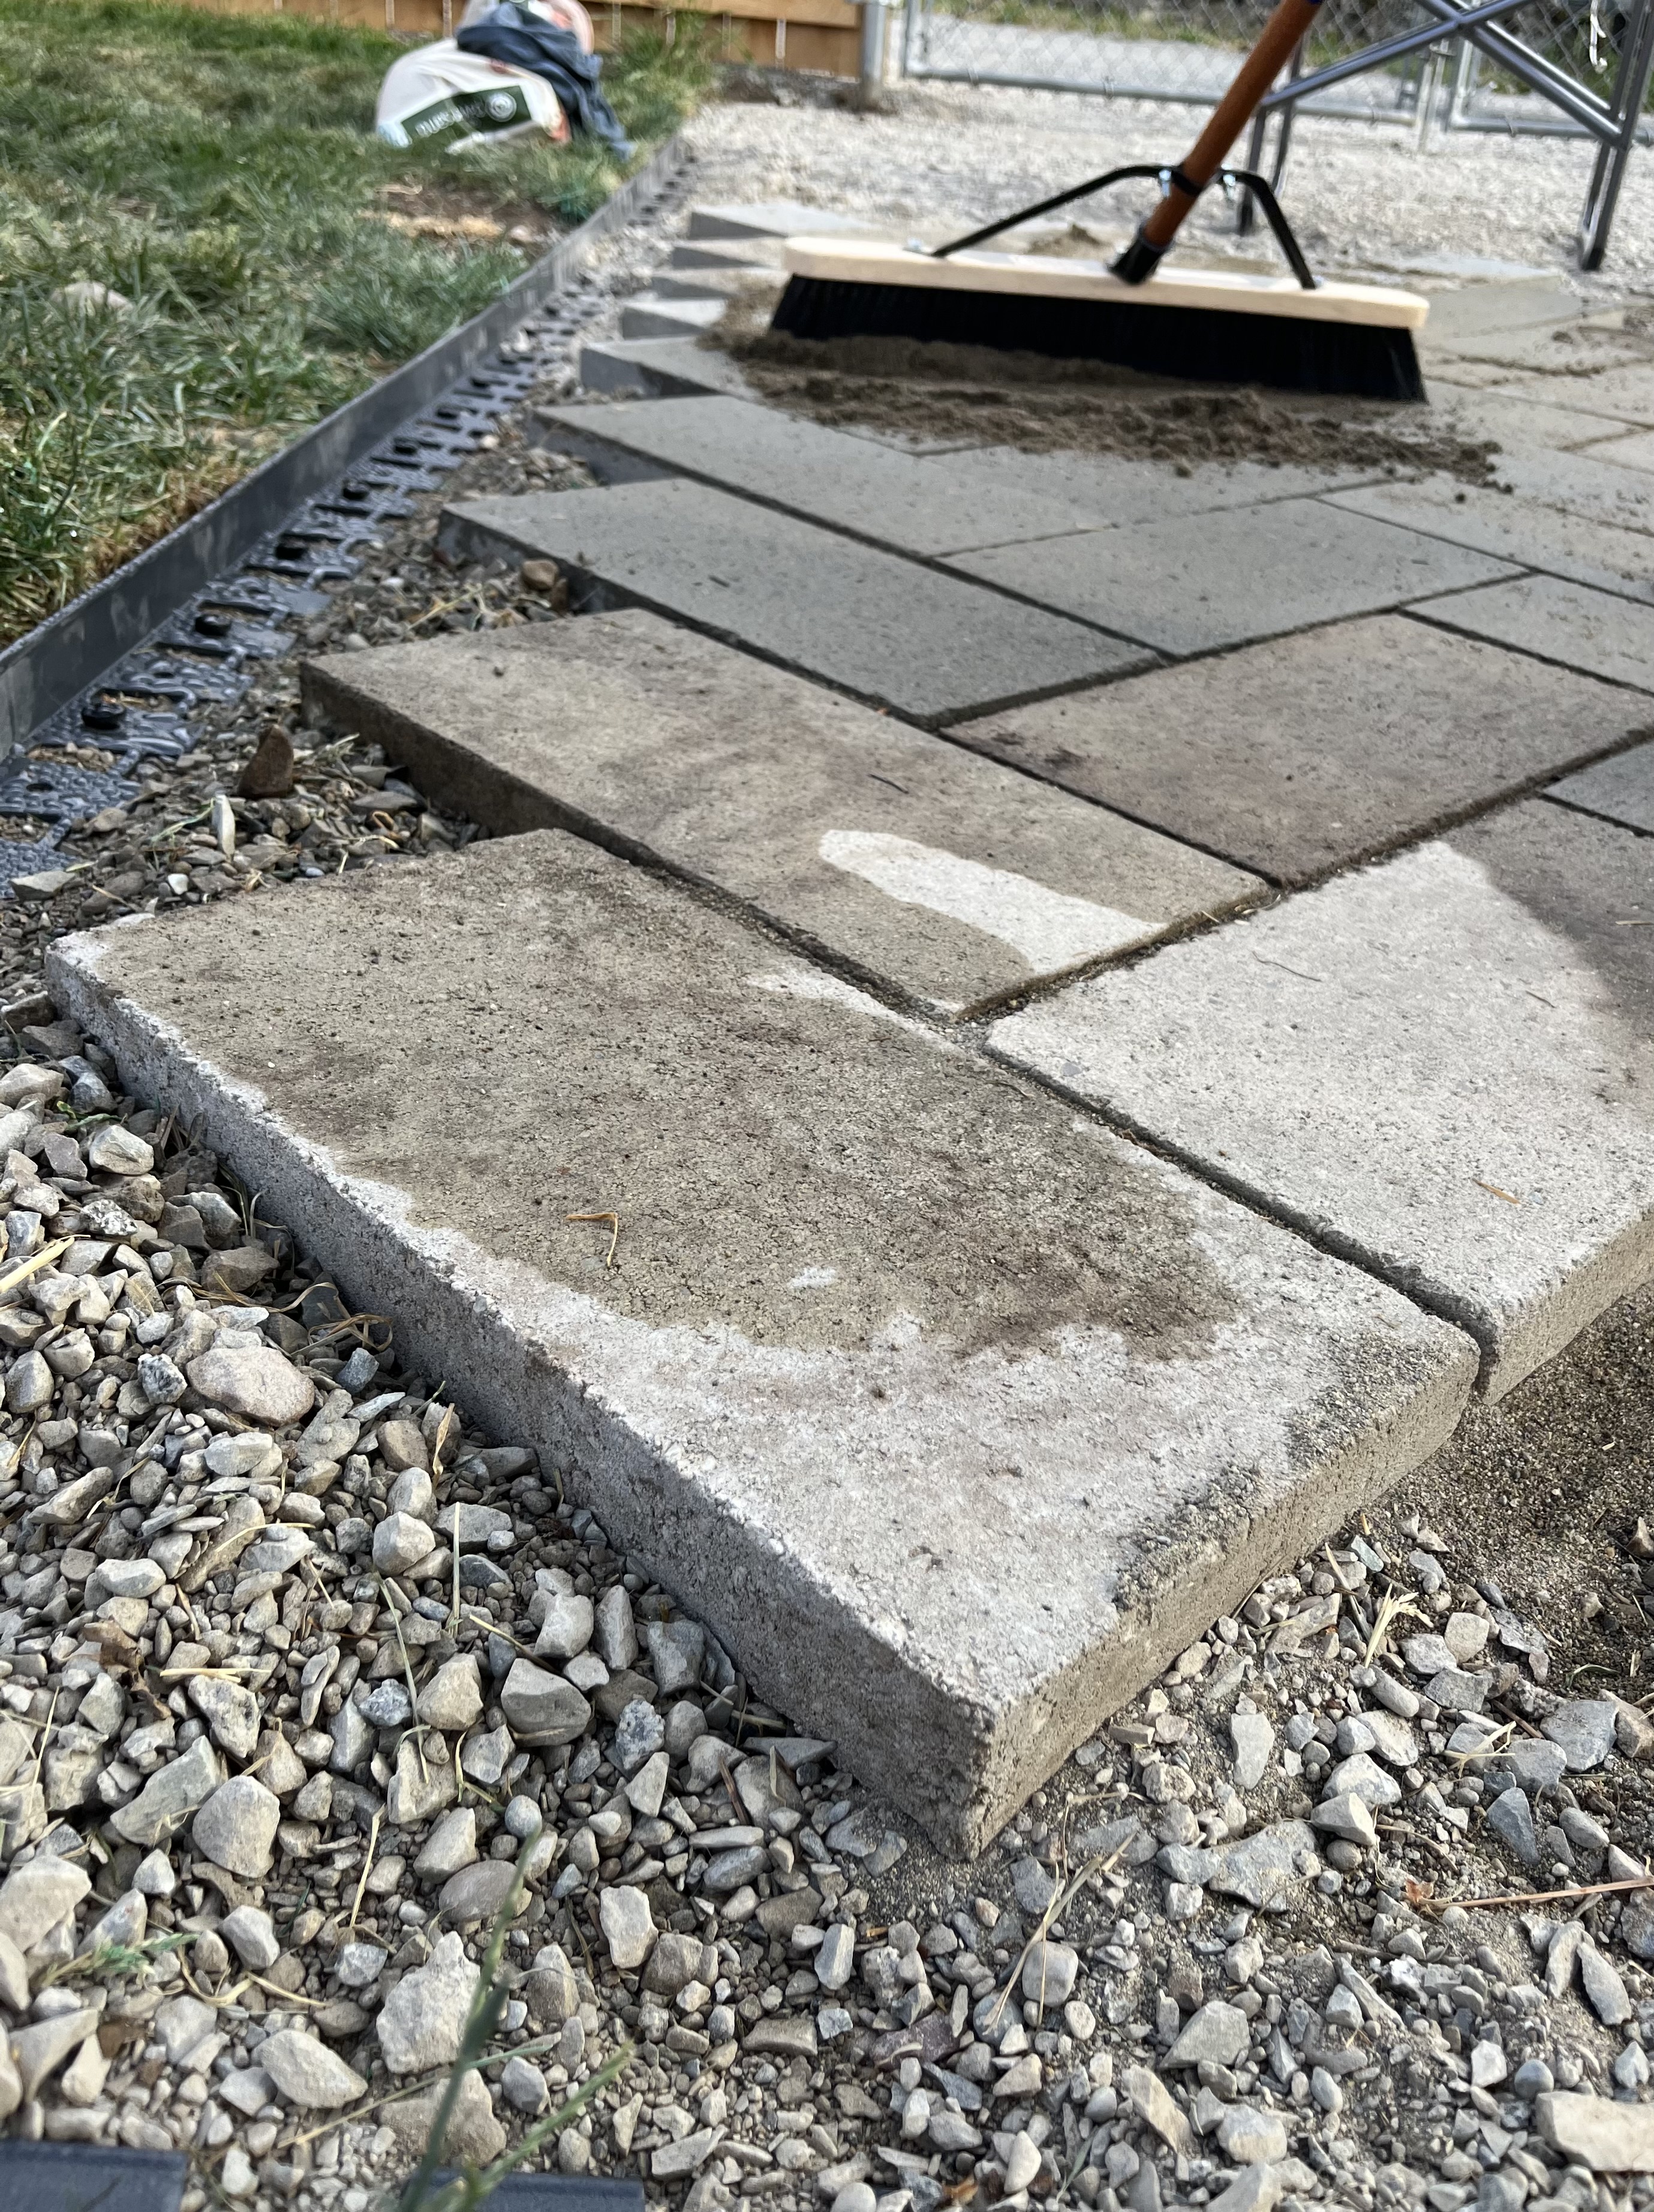
Sweep sand inbetween pavers periodically and once all pavers have been laid.
Step 4: Finishing Touches
- Tap each paver gently with a rubber mallet to ensure they are set firmly into the sand base.
- Spread sand over the patio surface and sweep it into the joints between pavers.
- Use a plate compactor to vibrate the pavers, ensuring they are firmly set and the joints are filled with sand.
- Lightly mist the patio with water to help the sand move down into any holes. You may have to add more sand and repete this step more than once.
- Step back and enjoy your new herringbone paver patio!
Lessons Learned:
Challenges Faced
One of the biggest challenges we encountered was handling the sheer volume and weight of materials needed for the patio. For our project, we had to move 200 bricks individually from the shelf onto a cart, haul them into the back of our truck, and then unload them at home. This was a time-consuming and physically demanding task.
To save time and energy, consider checking with your supplier to see if they offer delivery services. This can significantly ease the burden of transporting heavy materials. Additionally, purchasing a pallet of bricks and having the store load it into your truck bed with a forklift is another efficient option we could have utilized. These approaches can help streamline the process and reduce the physical strain of moving heavy bricks and sand.
Mistakes to Avoid
Pavers are not always perfectly shaped, so when aligning them, it's important not to push them tightly against each other repeatedly without checking their alignment with the center line. Doing so can result in misaligned pavers that might require redoing a portion of your patio, as I experienced. Accepting that gap sizes may vary slightly allowed me to achieve much straighter lines. Regularly checking the alignment and adjusting as needed helps maintain the integrity of the herringbone pattern.

